We've had a lot of interest in a tutorial for the woven star.
Thank you all for your sweet comments about these!

This star is made from vintage book pages. Traditionally, this type of ornament would be made from reed, or birch bark, or wood veneer, though some crafters like to use cardboard. I think folded paper works really well -- it's more flexible than cardboard, but has enough body to hold it's shape well.
The woven star is a very old traditional pattern that goes by many names. Here is a picture of a Swedish Window Star that has been in my friend's family for nearly one hundred years! Isn't it stunning?

People have been weaving similar versions of the woven star for a long time. Most commonly, I see it called a Finnish Star or an Advent Star or Poinsettia or Window Star.
**Important copyright information about the woven star: The woven star concept is an idea and ideas cannot be copyrighted in the US. A person can only copyright their own expression (for instance, your own words or pictures) of an idea. The idea itself is not copyrightable. For more information, see this important post about copyrights.
To make your own star, locate a supply of paper. You can use anything from old grocery bags to sheet music to scrapbook paper to junk mail to old maps -- just get creative, and use what you have lying around. If you are using thin paper, you will need to fold your strips into several layers, as I will show you here.

If you just don't have the patience/time/energy for that, you can achieve a similar look with cardstock, such as Vintage Chic Double-Sided Cardstock 12"X12"-Textbook 25 per pack

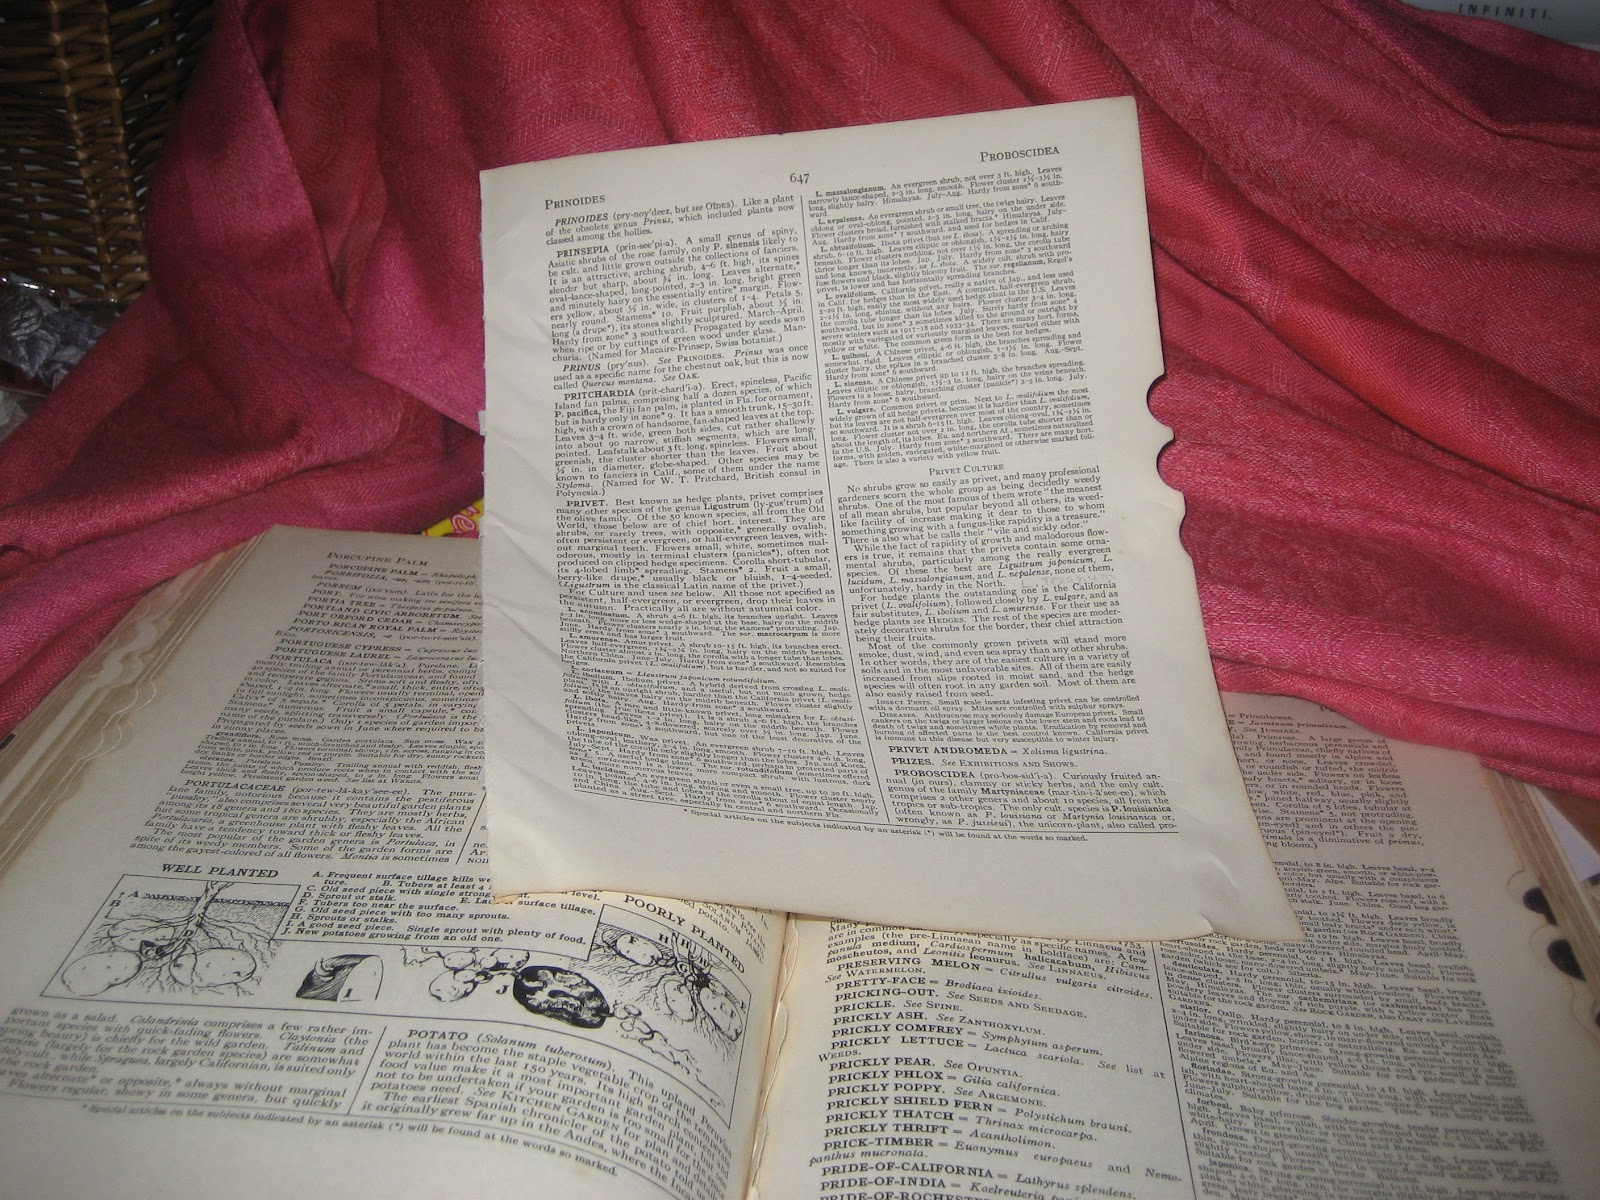
I tore large sheets out of this huge vintage gardening book. This will be perfect to create a Christmas gift for my mother-in-law, who is an amazing gardener. I've already picked up several garden themed gifts for her, so this will go nicely!

Each sheet was folded in half, then folded in half again, to create eight sections.

These sections were then cut apart and folded lengthwise into quarters. Secure the folds with a thin bead of glue.
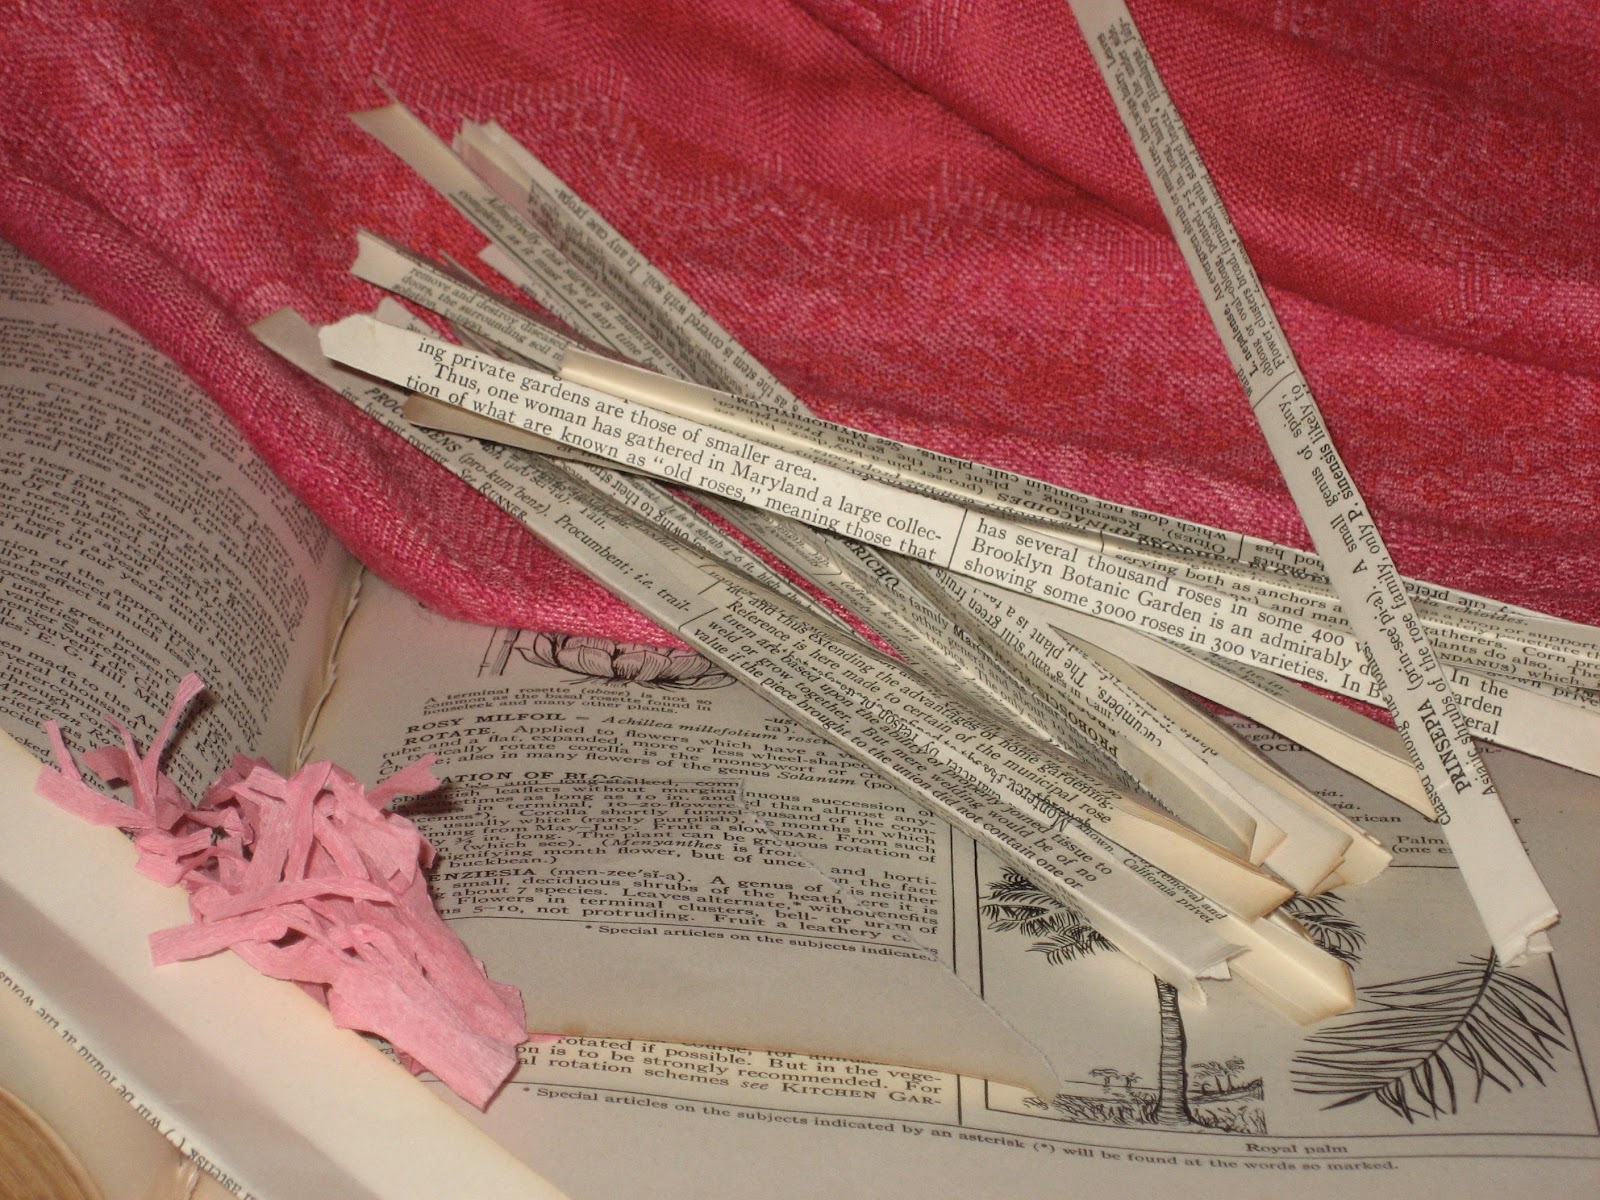
This particular paper really needed to be four folds thick to have enough body for the star to hold its shape. Your paper may not need as many thicknesses, or it may need more. My strips are about a quarter inch wide by about eight inches long. You may want to choose different dimensions for your strips, to optimize your paper use
Truly, creating the strips was the most time consuming part of this project. I created enough strips to make about a dozen or so ornaments, and it took an entire Lifetime movie on Hulu to do them.

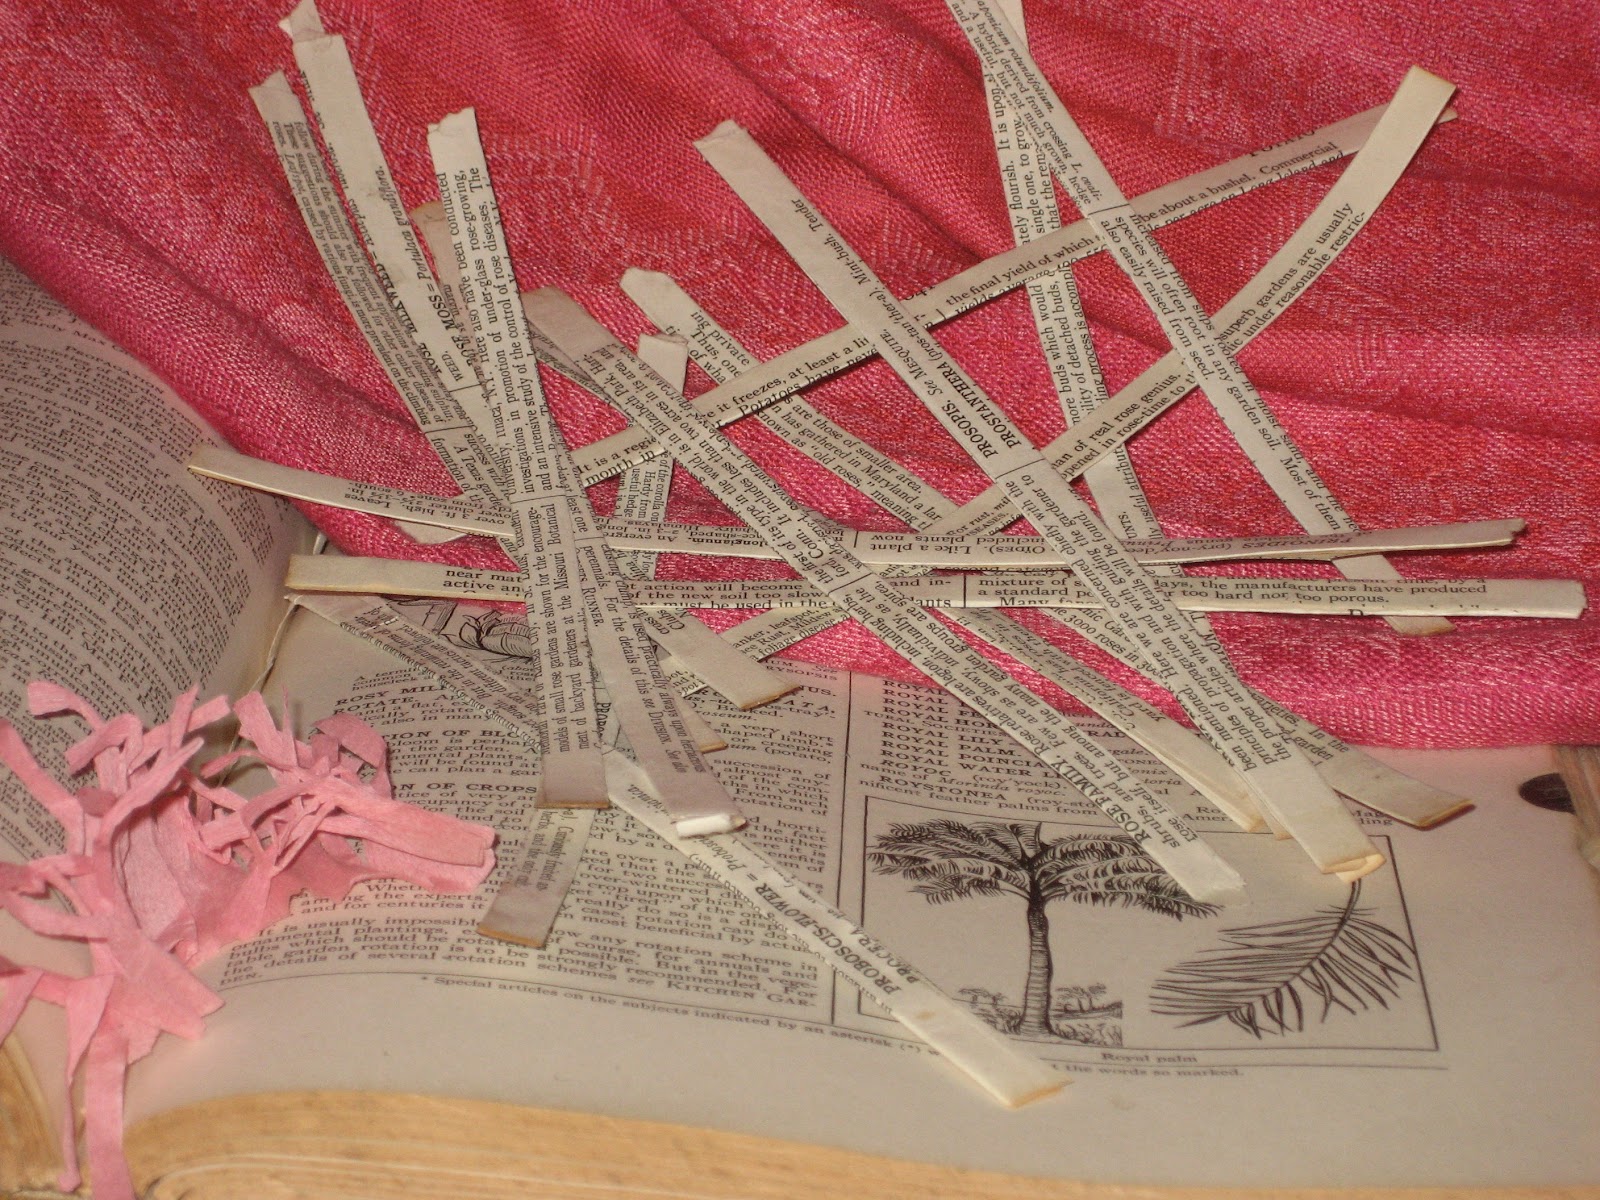
Make sure all your strips are the same length, for the best end result. Then find the center on each of two strips, and glue them at right angles to each other, as shown. If you are doing several stars, just work assembly line style.

Next, add two more pieces, as shown here, alternating over and under. Glue in place and clip, using paper clips or clothes pins.

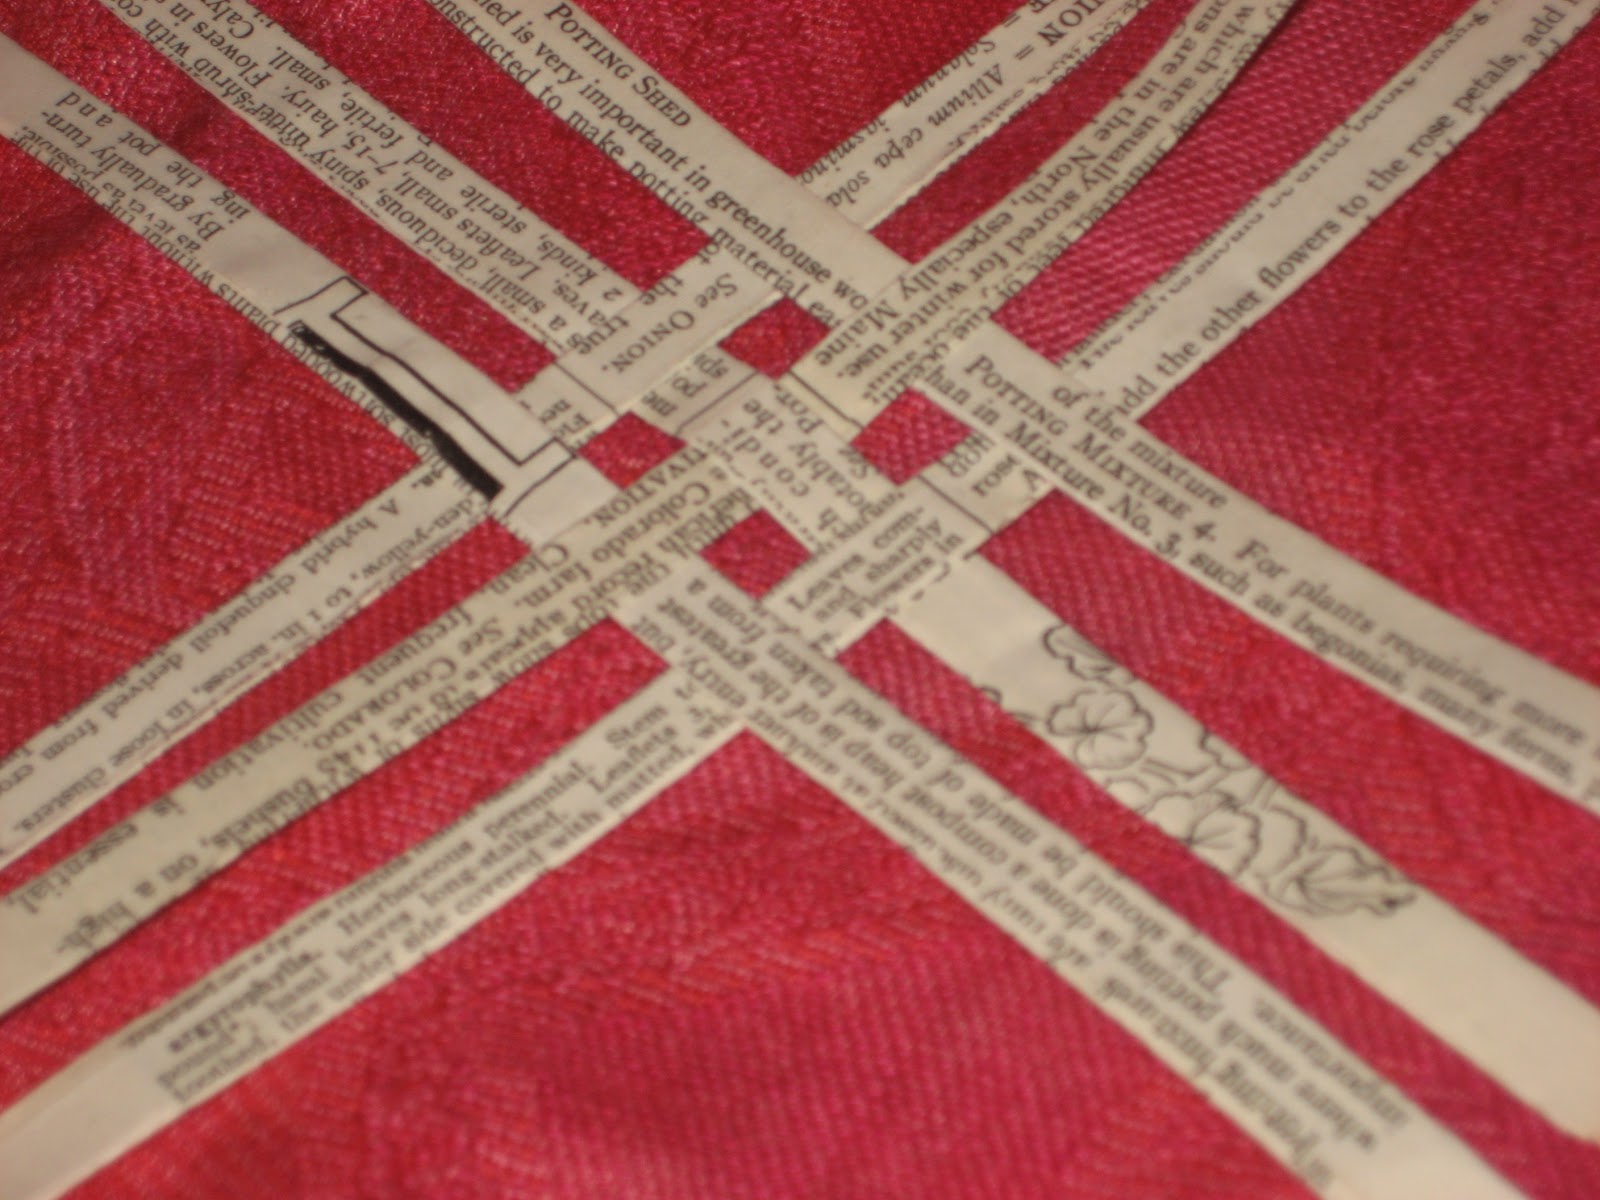
Now, do the same thing in the other direction. Try to be as precise as possible, and space the strips evenly, but as you can see here, the strips are not totally straight. All the folding and gluing stretches the fibers in the paper, so sometimes you may have to fudge things a bit.


Right
In this picture the strips are glued together incorrectly. (Not that I would know anything about that, cough, cough)
Wrong
Glue all four sides in the same way. Do you see that little aluminum clothes pin? Those are absolutely the best for crafting with paper. There springs are not very strong, so they won't mar the paper, and they are not very heavy, so they don't weigh down the paper and cause it to become misshapen. The paper clips are marginally okay. I used to be able to find the aluminum clips in China Town, but all I can find are the plastic ones, now.

Once you have two sides glued, you can put them together as shown here. Just turn one over on top of the other, same sides facing, but with the top one rotated 45 degrees.

Now, begin to weave the remaining strips under the points you glued together previously.

It may seem like the strips are too long, but resist the temptation to trim them (sorry, it's late, and I just love Pirates of Penzance)!

Take the end of each remaining strip and add a drop of glue...

Secure with a clip while the glue sets.

First the top four points...

... then the bottom four points.

While the glue is setting on your star, you can create a hanger. Take one of the extra strips and glue the ends together, as shown here.

See how the points look a little sloppy where the single strip overlaps the point slightly?

Just trim those points up with some scissors.

Here, the trimmed star looks much nicer.

Now you can glue the hanger to one of the points, and clip, as shown.

Now, your star is finished. You can glitter or embellish it any way you please.

You may want to glue dots on the tip of each point for a nice finished look.

Here, I added a fringed rosette of tinsel and paper, to cover the bottom of the hanger. I just took a strip of paper and cut a fringe into it, then rolled it up and wrapped it in a bit of tinsel. I used Gorilla Glue for this, as it works well on nonporous materials like tinsel.

Clip the rosette to the star until the glue cures.

Add a bit of glitter, if you like (how can you go wrong with glitter?)...

I hope you enjoyed the tutorial! Watch for the tutorials for the other two stars in the next few days.


Trust me, the hard part is done! The other two stars are just adaptations of the first design.

If you're not already a follower, you may want to click "follow" in my side bar, so you don't miss the other tutorials.
Edit 2012: Here is yet another woven star tutorial

Another style of star made from vintage book pages can be found here.

Or try these honeycomb style ornaments made from vintage book pages.

edit: part three of this tutorial is now available here

You might also like this post about how to make vintage book pendants.
If you enjoyed this post, please subscribe to House Revivals in the sidebar, so you won't miss the fun projects we have planned. Find us on Facebook, too, so you can catch all the "in between" stuff, and see what I'm working on throughout week on Instagram. Feel free to link today's project to your favorite social media sites.
Thanks so much for stopping by!
Thanks so much for stopping by!
~Amanda